Modifying and Adding Hive Mechanic Cards
If you have admin access for your site, you can make changes to the hive mechanic cards, such as editing the text or what order the fields appear in. You can also create new cards using an existing card as a base. If you know javascript, you’ll be able to make a wider variety of changes to cards, but this tutorial won’t cover anything too complicated.
Tutorial for Modifying a Card
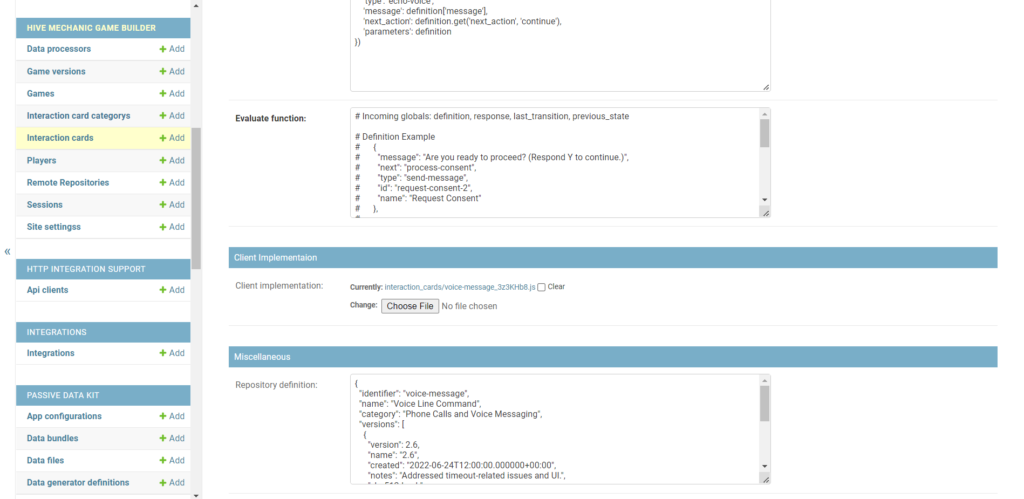
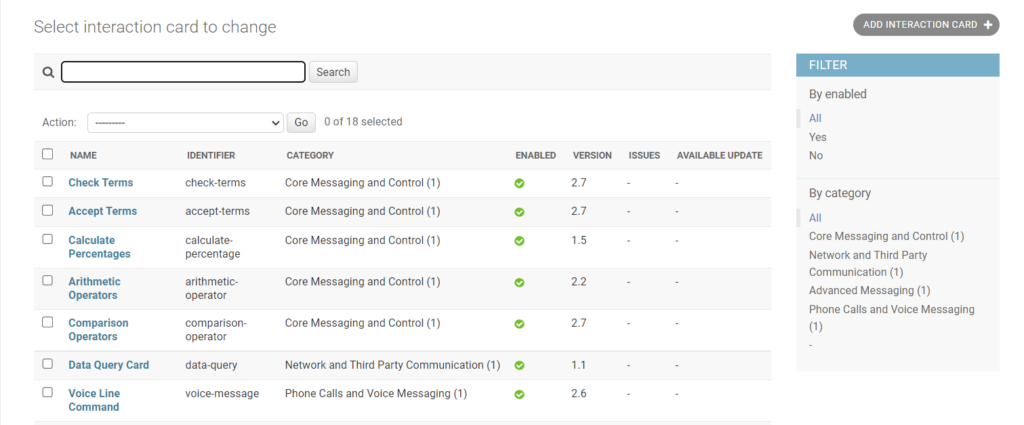
From the admin page, click on “Interaction cards” on the left side. Then you’ll see a list of cards. The name might be slightly different from the one you see in the editor, but click on the one you want to see the page in the image. For most edits, go to the ‘client implementation’ section and download the javascript file (ends in .js).
There are 2 different kinds of syntax you’ll see in the file depending on what card you are modifying. The first is standard html, like in the Phone Call Actions card below
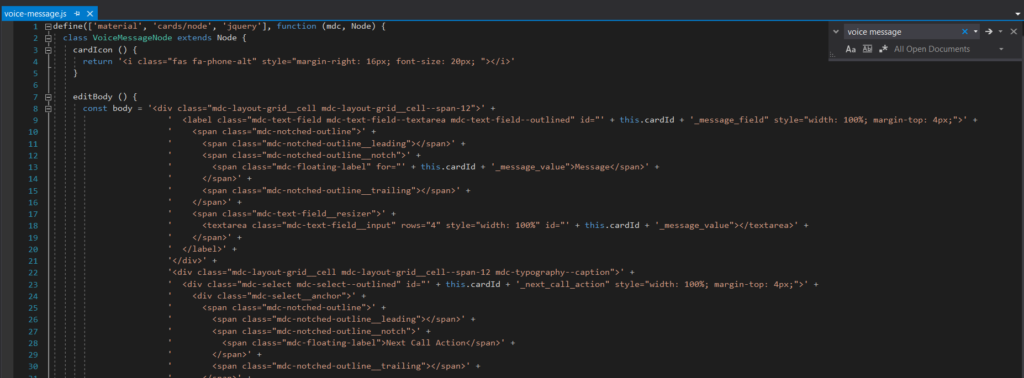
On your computer, use a text editor like Visual Studio Code to open up the file you downloaded. If you’re not familiar with javascript, it will be a lot of nonsense to look at, so I recommend using ctrl-F to search for the text you want to change. For example, to change the title of the Voice Message card, I would search for “Voice Message”. Once you’re done editing, go back to the admin site and click on “change file” in the “client implementation” section to upload your changed file, then click save in the bottom right. Now you can refresh your Hive Mechanic editor to see the changes live.
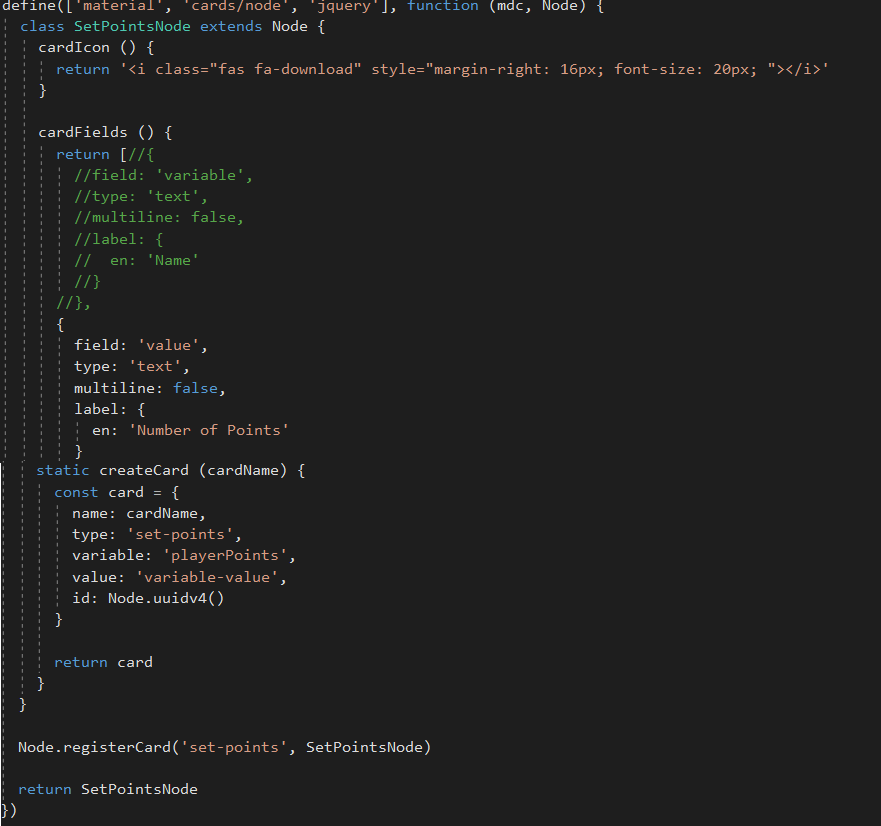
Instead of html, you might see a special syntax created for hive mechanic cards. For making smaller edits, you’ll likely want to change the text in the ‘cardFields’ section near the top, specifically in lines with ‘en’ in them, and the ‘createCard’ section near the bottom of the file, which is where default values are set. Using ctrl-F to search for text is also helpful here. You will also need to make sure that the class, which is found at the top, SetPointsNode in this example, is the same as the text written in the Node.registerCard line, or the card will not function.
Adding a New Card
Adding new cards is only recommend for people that are familiar with javascript. In the Admin site, click on “Add Interaction Card” from the “Interaction Cards” page. You’ll then see a bunch of blank fields. I recommend saving the card without filling in the fields, and then copying over 1 for 1 from a different card. Once you have your base card, you can download the javascript file and make changes to your new card.
Any changes to the cards on the Admin Site will update the Hive Mechanic Editor immediately, which might be enough for most people. It is possible, however, to back up your cards using Github and automatically update them with a version system, although that isn’t covered in this tutorial.